 Elizabeth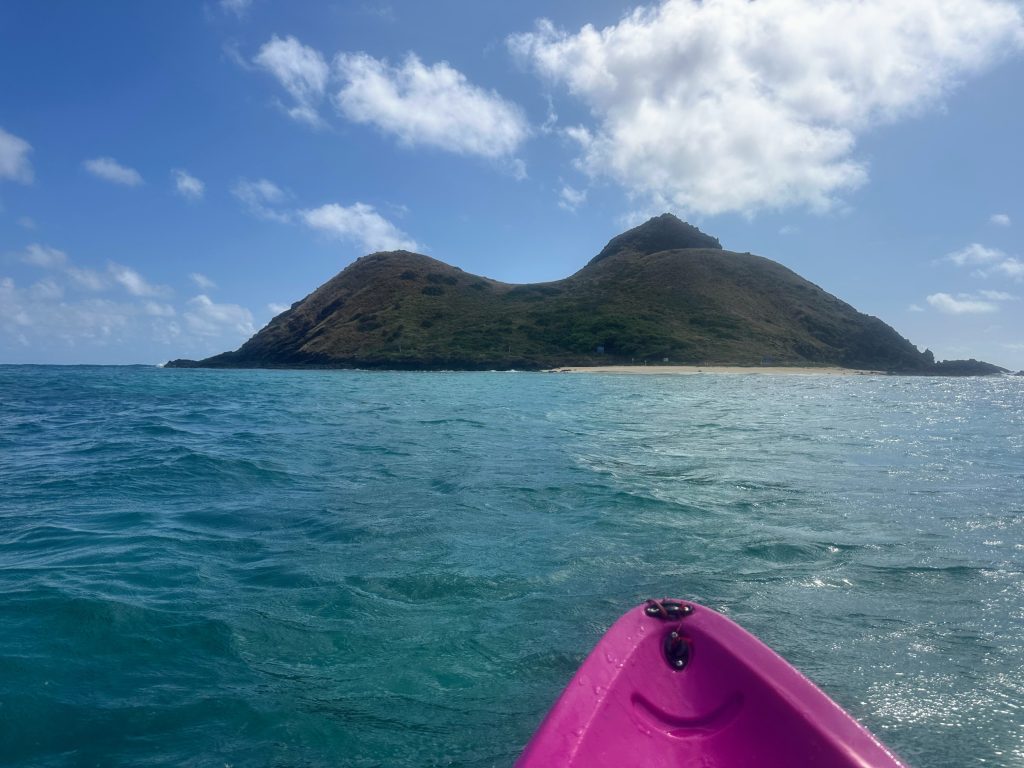
Planning a kayak trip to the Mokes? I’m going to cover everything you need for a successful journey from Kailua or Lanikai Beach to Moku Nui, the largest of the Mokulua Islands and home to the iconic Queen’s Bath. (Which is what drew me there!) I’ve gathered all the information on permits, kayak rentals, ocean conditions, and landing procedures to ensure a seamless island adventure.
If you’ve seen photos of Queen’s Bath or the Mokulua Islands and wondered how people actually get there, you’re not alone. Every time I share pictures from this adventure, I’m flooded with questions
After finally making the trip ourselves, I can see why it’s on so many Oʻahu bucket lists. The paddle is challenging enough to feel like an adventure, the island is stunning, and floating in Queen’s Bath feels a little bit like discovering a secret. Yet it can all be done in a morning, leaving plenty of time for other adventures.
Quick Facts: Kayaking to the Mokes
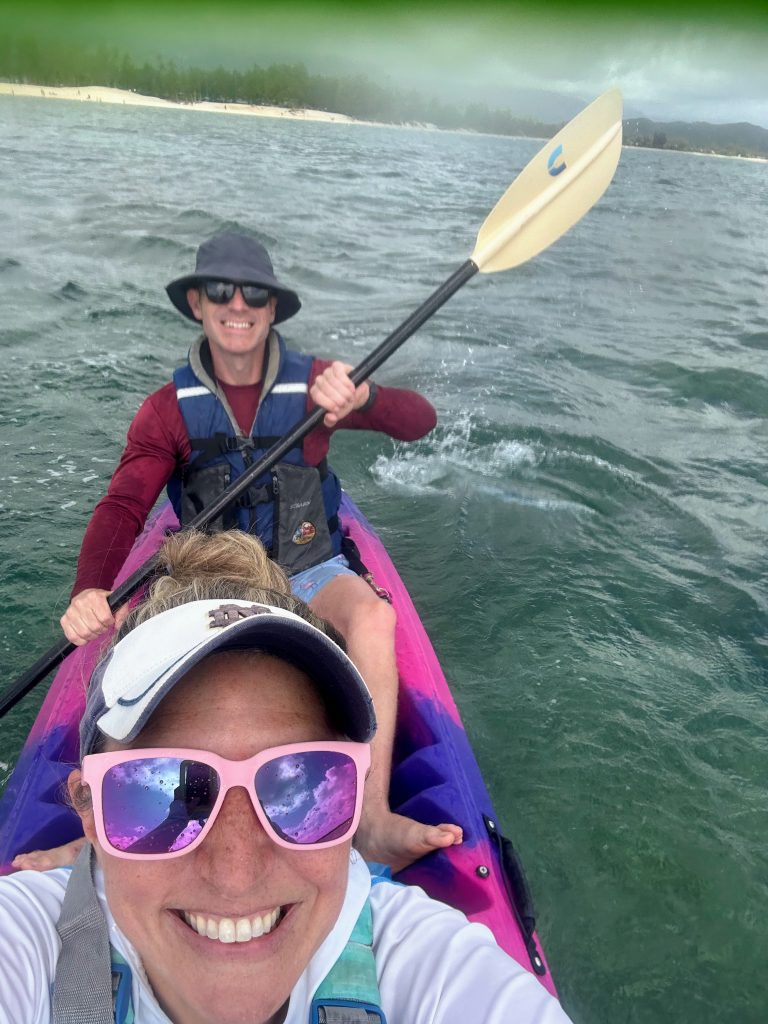
Starting Point: Kailua Beach or Lanikai Beach
Destination: Moku Nui (the larger of the two Mokulua Islands)
Distance: About 1 mile each way from Lanikai Beach
Paddle Time: Approximately 30–45 minutes each way
Permit Required: Yes, for landing on Moku Nui
Best For: Active adults, older kids, and adventurous families
Highlight: Floating in Queen’s Bath, Turtles, Ocean Adventure
Renting a Kayak vs. Bringing Your Own
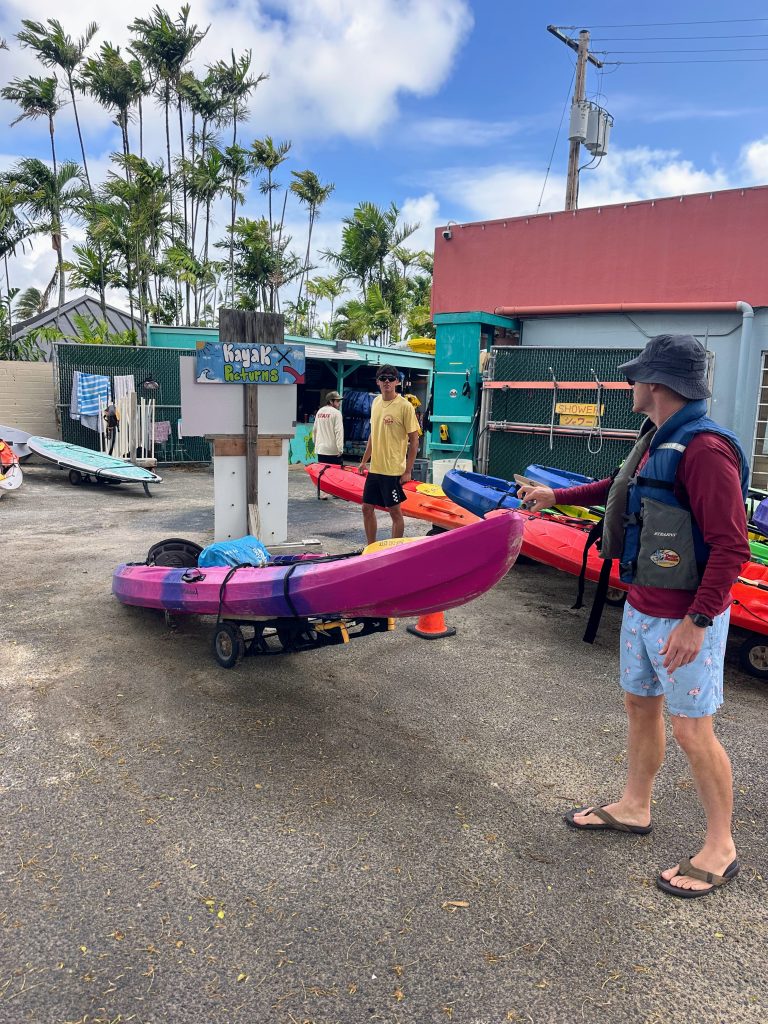
We rented a double kayak through Kailua Beach Adventures, and I would absolutely do it this way again.
Their rentals include the required landing permit for Moku Nui, which removes one extra step from the planning process. They also offer guided tours, but we chose to paddle independently and didn’t feel like we needed a guide. (We also live in Hawaii and are out on the water frequently.)
Originally, I considered taking a paddleboard. After experiencing the conditions between the islands, I’m very glad I didn’t. Even on a relatively calm day, the water patterns around the islands can be extremely hazardous.
If you’re debating between a single and a double kayak, I’d recommend the double. We found it easier to manage in the waves and appreciated having two people helping with the paddle. Kailua Beach Adventures rents both single and double kayaks. We’ve also had plenty of friends go out in their own single kayak.
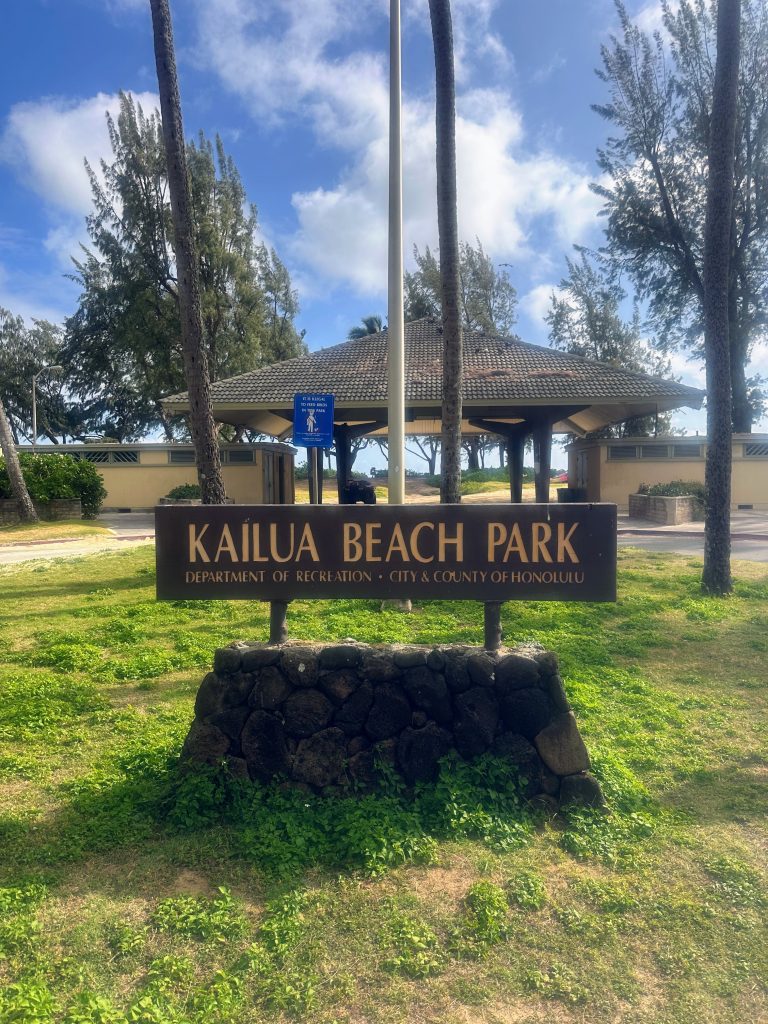
If you already own a kayak, you can launch from nearby Lanikai Beach, which shortens the paddle considerably. Parking at Lanikai can be tricky, whereas Kailua Beach has ample parking.
Do You Need a Permit to Kayak to the Mokes?
Yes.
Anyone landing on Moku Nui needs a permit. If you’re renting through Kailua Beach Adventures, the permit is included with your rental.
If you’re bringing your own kayak or paddle craft, you’ll need to secure a permit through Hawaiʻi’s Department of Land and Natural Resources permitting system before your visit. Permits can typically be obtained the day before or on the day of your trip. You do need to set up an account, which can be frustrating, so do that before you need the permit.
Before You Go: Conditions Matter
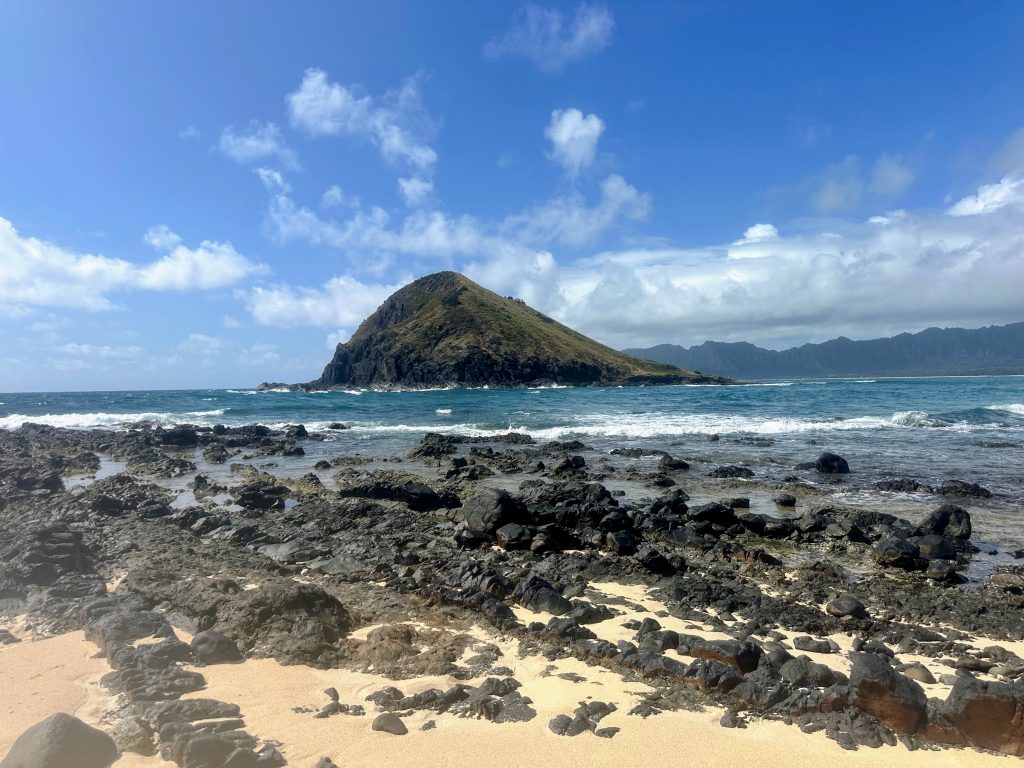
This isn’t a casual paddle around a protected bay. While much of the paddle occurs inside the surf break, there are still some challenging parts, with reefs to dodge and wave action to monitor.
The kayak trip to the Mokes is absolutely doable for reasonably active adults and older kids, but I wouldn’t describe it as easy. If you’re mildly athletic and comfortable on the water, you’ll likely be fine. If you’ve never kayaked before, this may not be the best place to learn.
Before heading out, check:
- Wind forecasts
- Surf reports
- Tide charts
- Ocean conditions around the Mokulua Islands
The reef surrounding the islands is shallow in many areas. Staying in deeper water helps protect both your kayak and the reef ecosystem. Nobody wants to scrape coral or damage one of Hawaiʻi’s most fragile natural resources.
What to Bring
- Water shoes
- Plenty of drinking water
- Reef-safe sunscreen
- Dry Bag
- Dry bags for phones and cameras
- Hats and sun protection
- Snorkel gear if you plan to stop on the way back
This post contains affiliate links. If you make a purchase through these links, we may receive a small commission at no additional cost to you.
The Paddle to Moku Nui
Launching from Kailua Beach, the paddle took us about 45 minutes. Others have reported it taking them a bit longer.
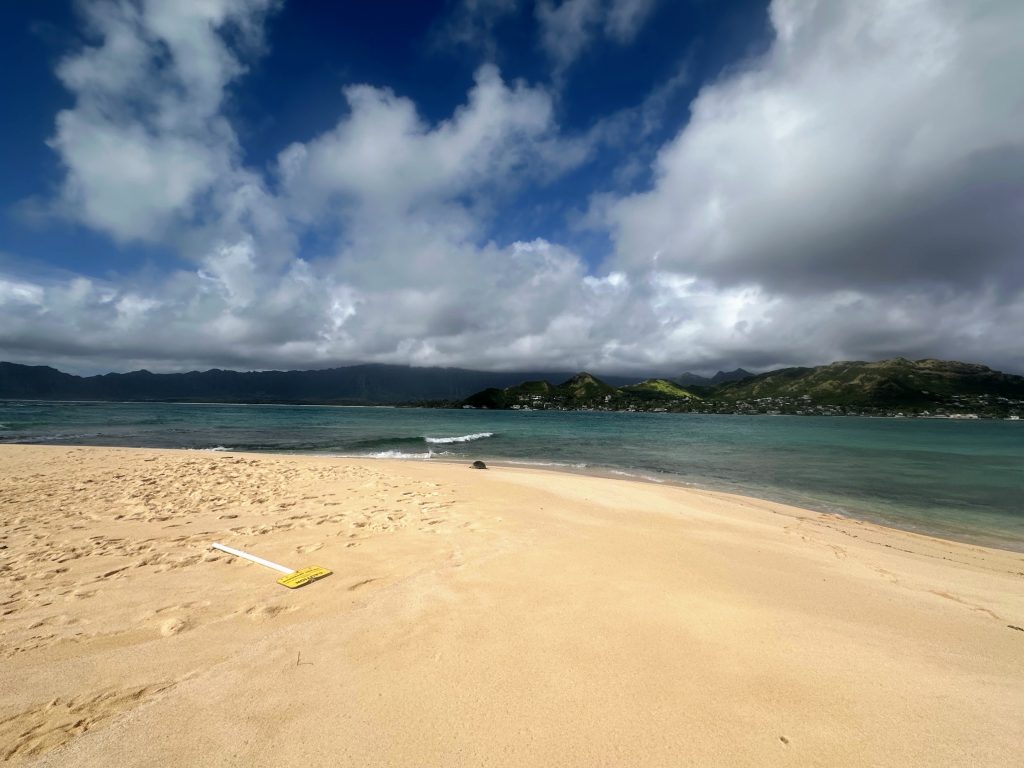
As the Mokulua Islands get closer, you’ll be aiming for Moku Nui—the larger island on the left. Look for the sandy beach landing area and pull your kayak completely onto shore when you arrive.
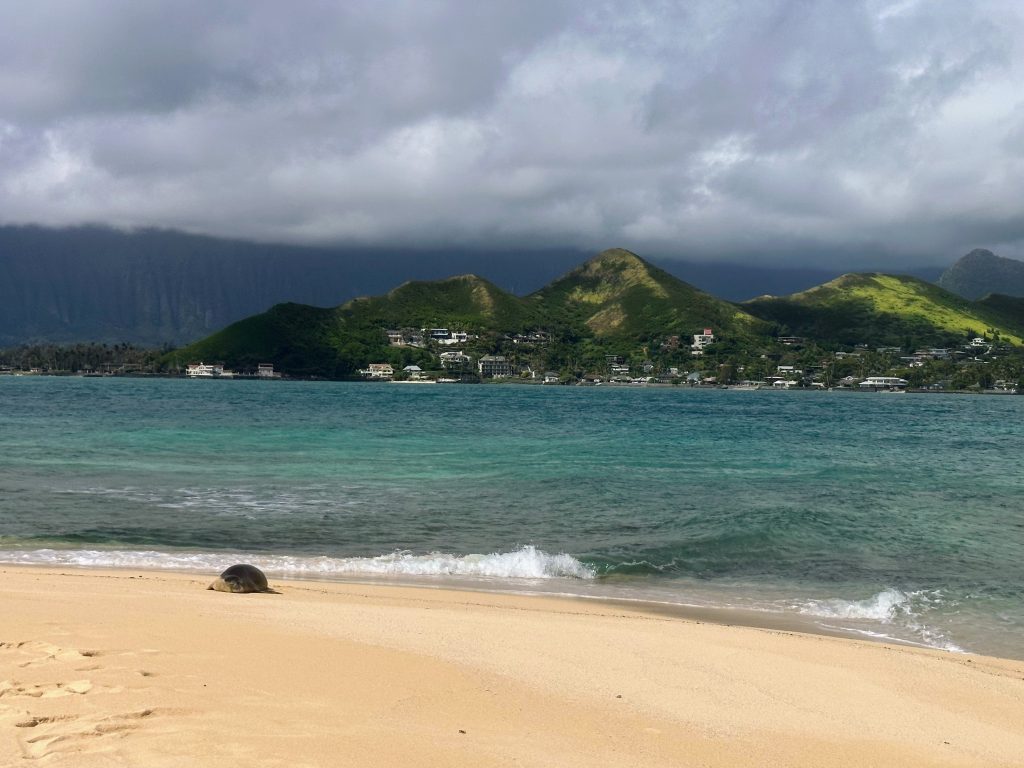
Our welcome committee happened to be a Hawaiian monk seal stretched out on the beach. We made sure to give our monk seal friend plenty of room.
Throughout the paddle, we also saw sea turtles surfacing all around us. It felt like every few minutes, another one would pop up nearby.
Finding Queen’s Baths.
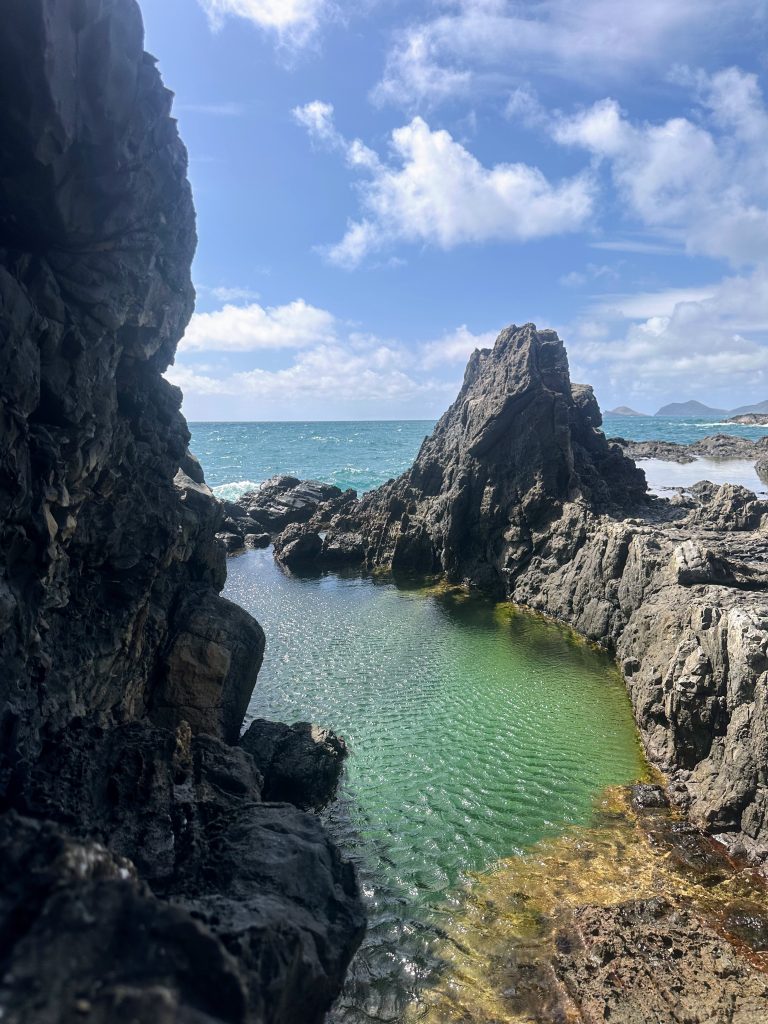
From the landing beach, follow the trail toward the right side of the island. You will want shoes for this bit. The terrain is rough volcanic rock, and sturdy footwear makes the walk much more enjoyable. There are a few places you need to lightly climb up a rock or jump down another.
It’s a short but challenging distance to reach the Queen’s Bath, a deep natural tide pool carved into the lava rock. Watch the tides. The water does fill this tide pool and you dont want to be here when the waves are crashing into the pool itself.
The water is clear, calm, and surprisingly inviting after the paddle. We spent quite a while floating around and taking in the views.
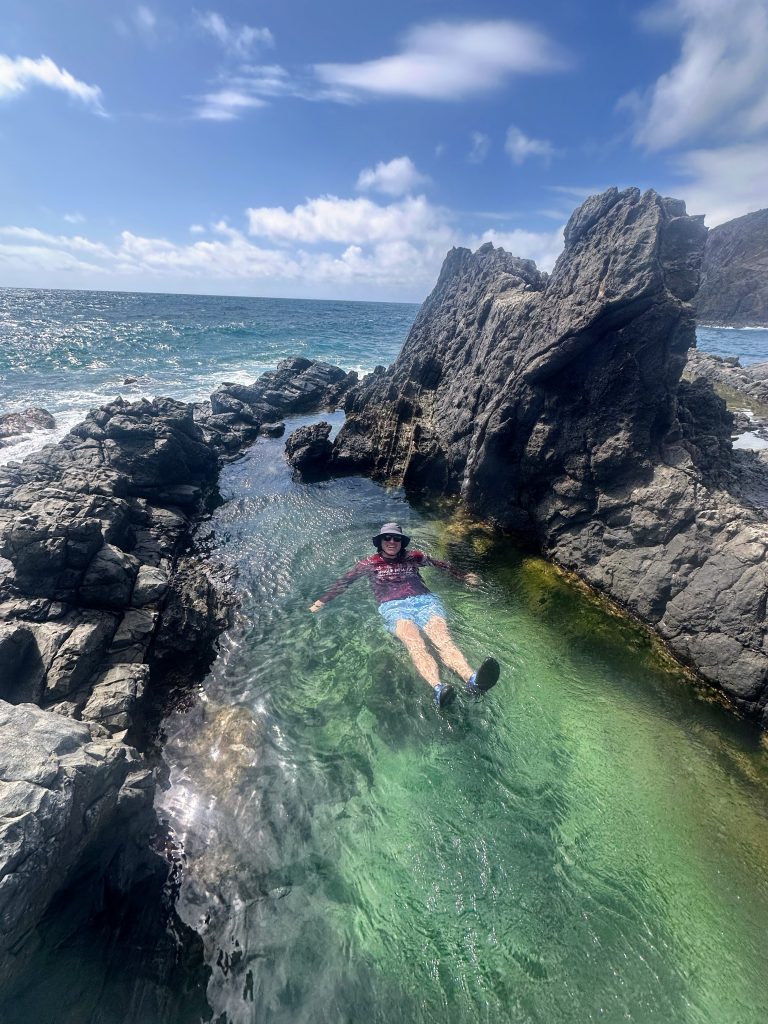
Keep an eye out for sea anemones around the edges and use caution when entering and exiting the pool.
We were the first people on the island that morning and had the entire place to ourselves. Sitting in Queen’s Bath with nothing but the ocean surrounding us was one of those Oʻahu moments that felt almost unreal.
Snorkeling at Lanikai Beach
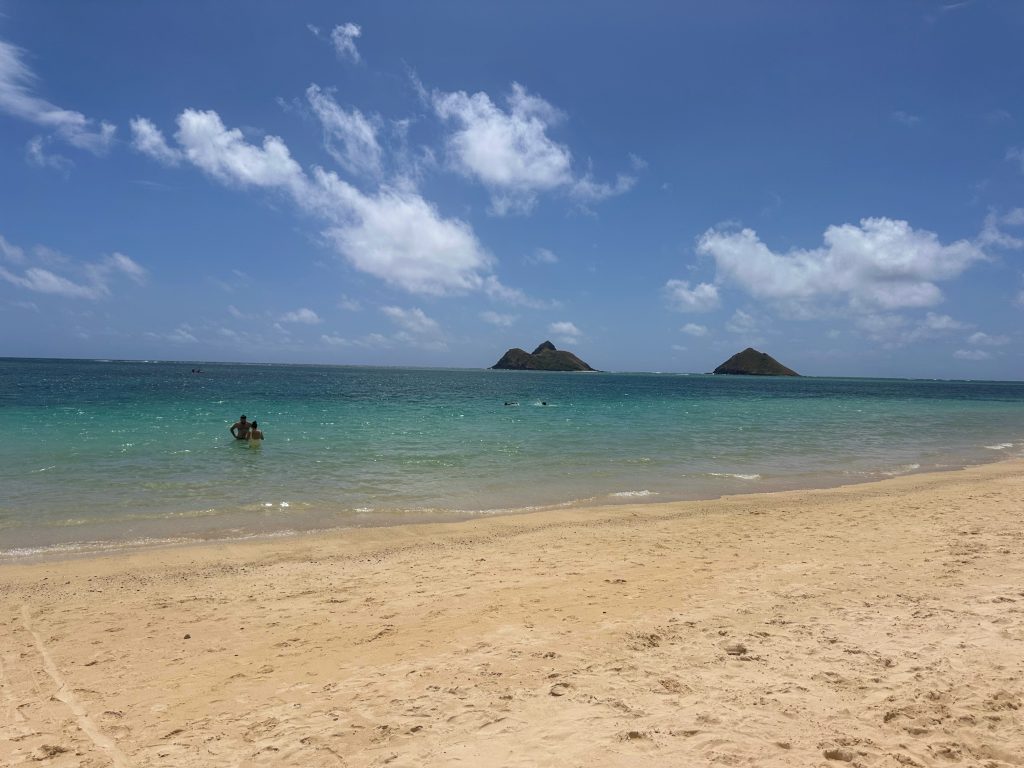
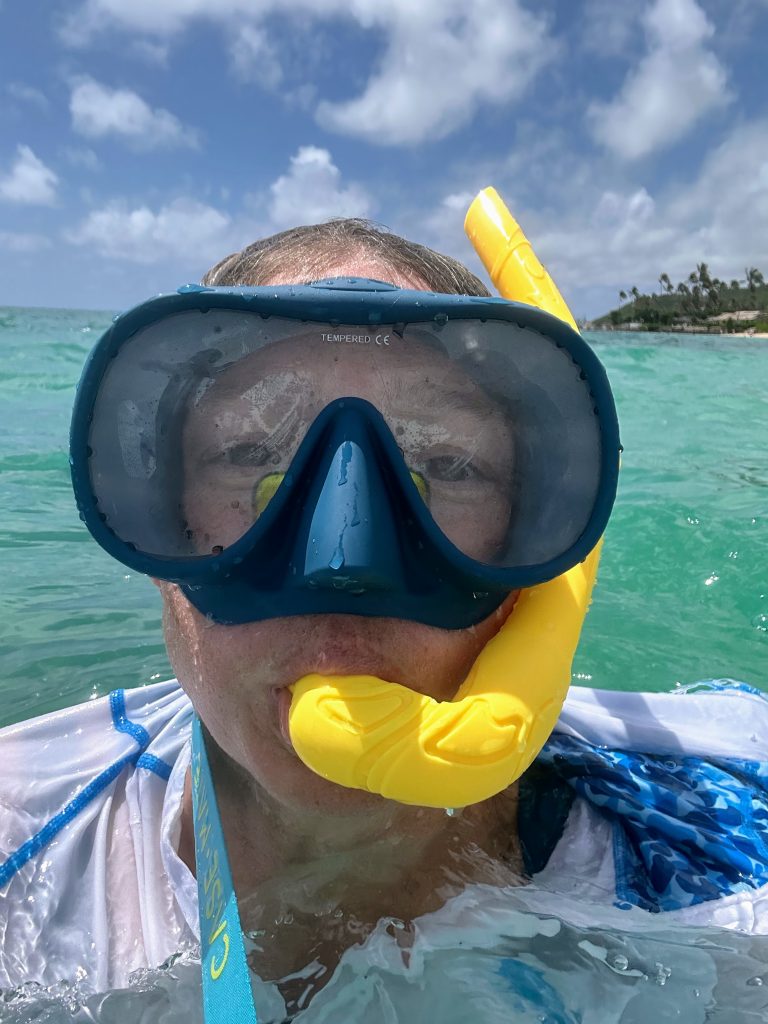
On the way back, we decided not to rush.We paddled toward Lanikai Beach and spent about 45 minutes snorkeling. The best coral and fish life we found was toward the northern end of the beach near the point. Lanikai Beach is lovely, the reef keeps the water calm, and it’s got gorgeous sand.
If you’re planning a similar stop, take a few extra minutes to find a sandy landing area so you don’t damage the coral.
We brought our own snorkel gear in the kayak, knowing we wanted to stop here to explore. A visit to Lanikai Beach is an option all on its own. You could easily spend a day on this lovely beach; the only downside is the parking!
A Stop at Popoia Island (Flat Island)
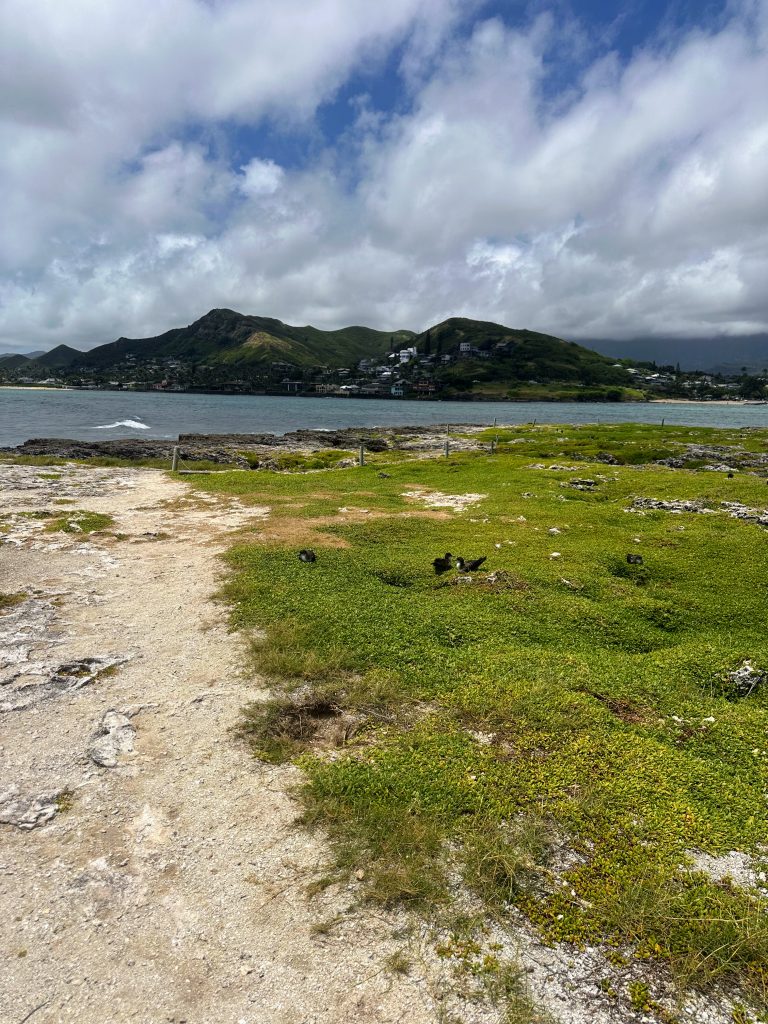
Before returning the kayak, we made one final stop at Popoia Island, often called Flat Island, just offshore from Kailua Beach.
The small island is a protected seabird habitat and offers beautiful views back toward Kailua and the Mokulua Islands. Depending on current access restrictions and seasonal wildlife protections, you may be able to explore portions of the island.
As always, be sure to follow posted regulations and respect any wildlife closures.
Post-Paddle Lunch in Kailua
One thing I appreciated about renting through Kailua Beach Adventures was the setup afterward. They have showers, restrooms, and changing facilities, which felt pretty wonderful after several hours in the sun and salt water. There are some facilities at Kailua Beach park if you are using your own kayaks.
Once we cleaned up, we walked across the street to Kalapawai Market and grabbed made-to-order sandwiches for lunch.
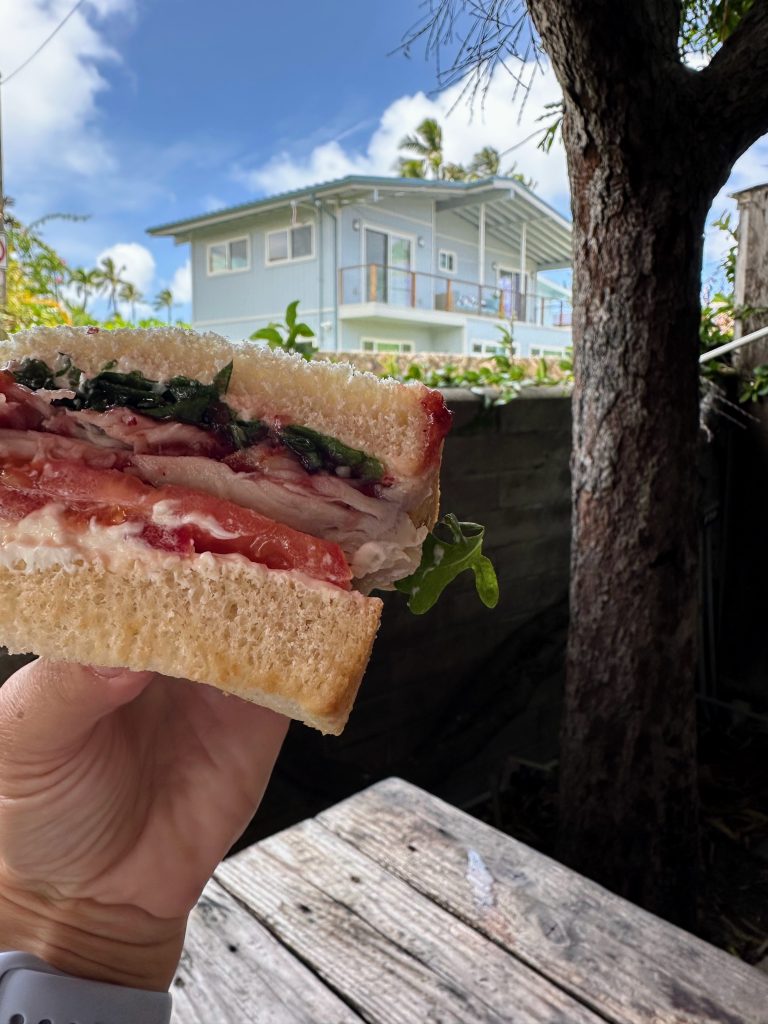
Some people pick up lunch before launching and pack it in their kayaks, but honestly, sitting at the picnic tables afterward with a sandwich and cold drink felt perfect.
Other Favorite Stops Around Kailua
If you’re making a full day of it, here are a few places we always enjoy visiting nearby.
Mānoa Chocolate & Wine Bar
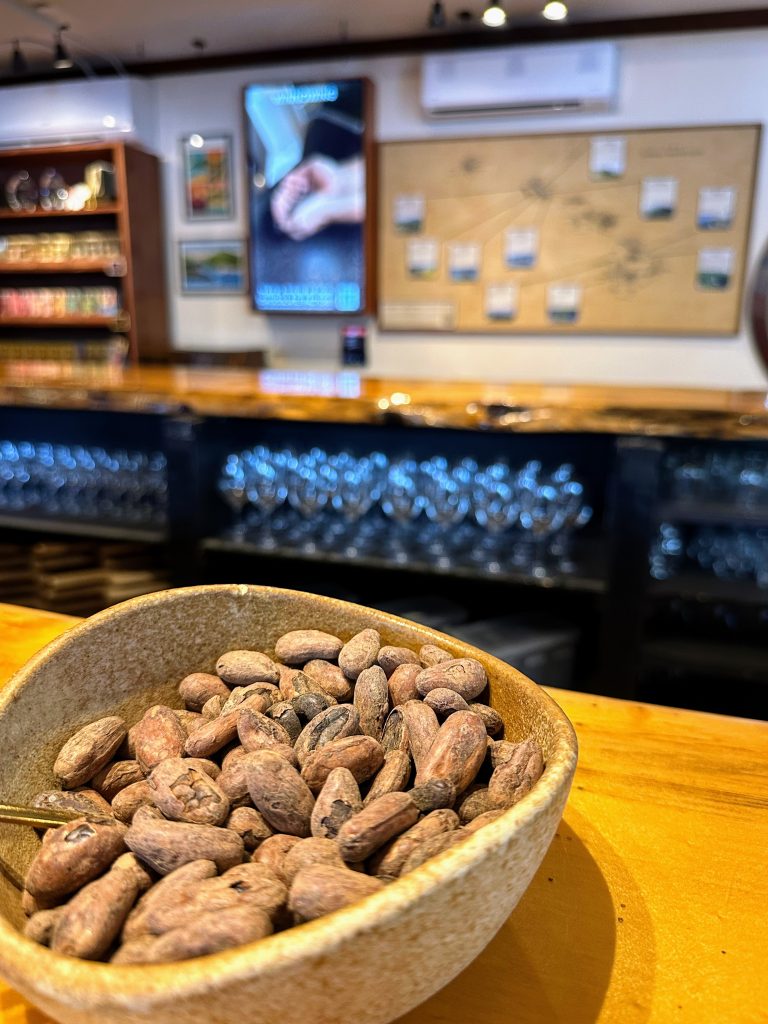
Their complimentary chocolate tasting is one of my favorite experiences on Oʻahu. You’ll learn about cacao growing in Hawaiʻi and sample a variety of locally produced chocolates. They also offer a monthly chocolate club that’s worth checking out if you’re a chocolate lover.
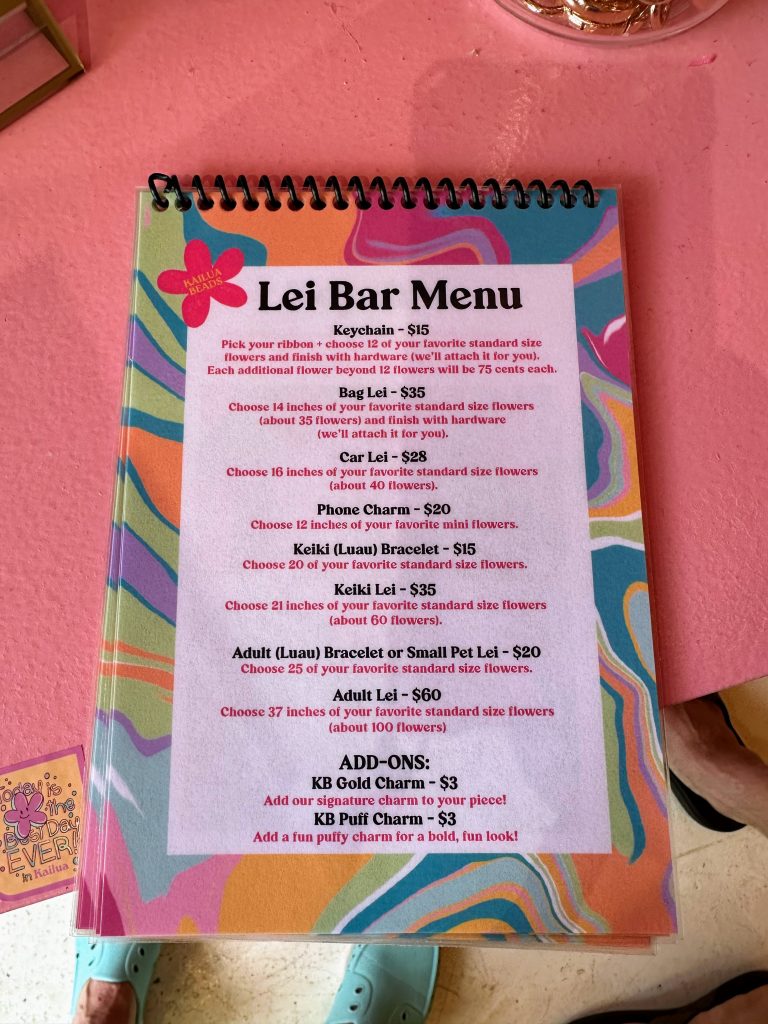
Kailua Beads
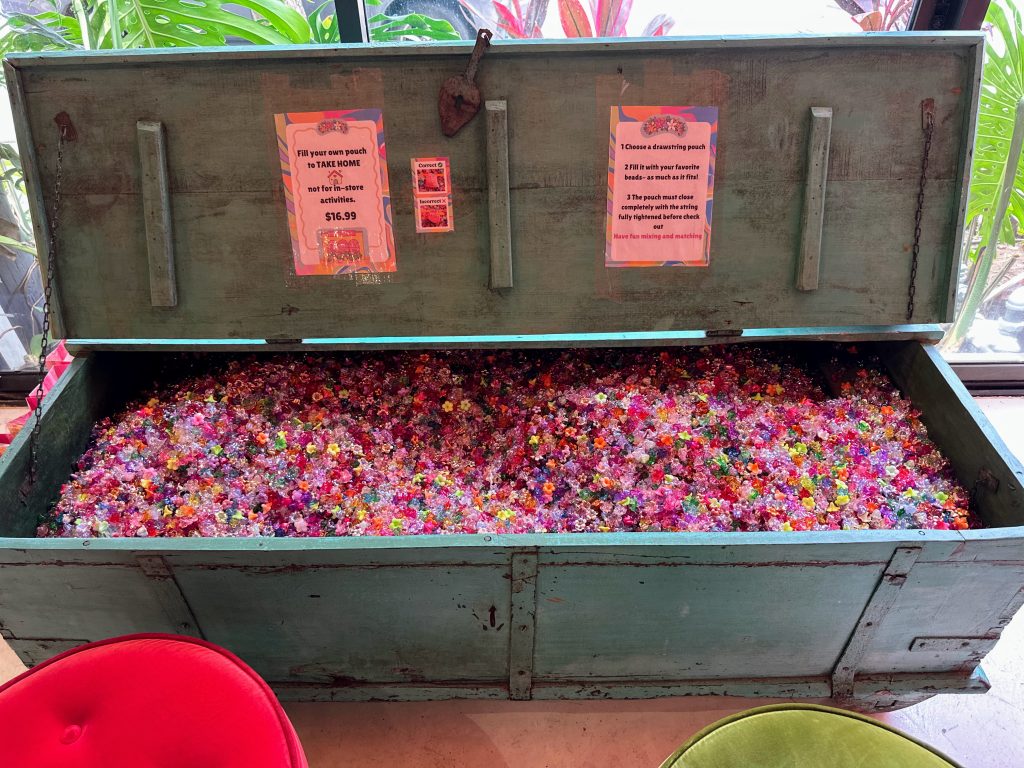
One of my favorite creative stops on the island. Their car lei kits are adorable, and you can also create projects right in the shop. It’s a fun activity for both kids and adults.
Kailua Crystals
My kids love a sparkly rock, so we never seem to pass through Kailua without stopping in to admire the rocks and crystals.
High Tide Glassworks
If you’ve never watched glassblowing up close, it’s worth a visit. Check their schedule before you go—you may be able to catch artists at work.
Frequently Asked Questions About Kayaking to the Mokes
Can beginners kayak to the Mokes?
Active beginners can often make the paddle on a calm day, but ocean conditions can change quickly. Always check wind, surf, and tide conditions before heading out. If you are not a confident paddler, consider a guided tour.
How long does it take to kayak to the Mokes?
Most paddlers reach Moku Nui in about 60 minutes, depending on launch location and ocean conditions.
Can you swim in Queen’s Bath?
Yes, when conditions are calm. Queen’s Bath is a natural tide pool located on Moku Nui. Always use caution around slippery lava rock and changing ocean conditions.
Is Queen’s Bath worth visiting?
Absolutely. Between the paddle, the wildlife, the views, and the chance to swim in one of Oʻahu’s most unique natural pools, it’s easy to see why this is one of the island’s most popular adventure outings.
What is the best kayak rental for the Mokes?
We used Kailua Beach Adventures and had a great experience. The included permit, convenient launch location, and post-paddle facilities made the day easy and enjoyable.


